

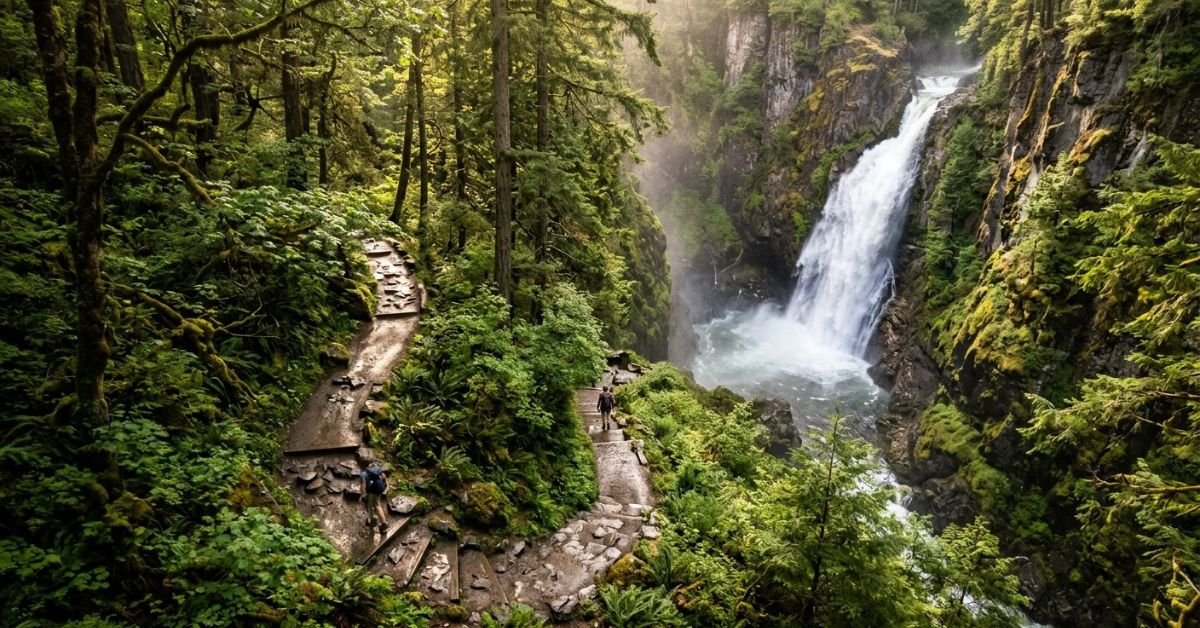
Imagine following a narrow forest trail as the sound of rushing water grows louder with every step. Sunlight filters through the trees, damp leaves cover the ground, and a waterfall suddenly appears between moss-covered rocks. The view is spectacular, but the final stretch may involve slippery stones, muddy slopes, exposed roots, and unexpected changes in weather.This is where preparation matters.
Packing the right essential waterfall hiking gear helps you travel more comfortably, manage common trail problems, and respond to unexpected situations. You do not need an expensive collection of specialist equipment for every waterfall excursion. You need reliable footwear, weather appropriate clothing, sufficient water, navigation tools, and safety equipment suited to your particular route.
This guide explains what to pack for short waterfall walks, challenging day hikes, and remote adventures. You will learn how to select practical equipment, avoid unnecessary purchases, protect your belongings from moisture, and recognize situations where the safest decision is to turn back.
At a Glance Travel Summary: Waterfall Hiking Essentials
- Best time to hike: Depends on the destination, rainfall, seasonal water levels, and official trail conditions.
- Ideal duration: A short walk may take an hour, while remote waterfall hikes can require a full day or longer.
- Estimated daily budget: Gear costs vary considerably by country and quality. Existing equipment can keep expenses low; specialist purchases may cost substantially more.
- Difficulty: Easy to strenuous, depending on elevation, distance, terrain, weather, and access.
- Essential footwear: Well fitting hiking shoes or boots with dependable traction.
- Essential clothing: Moisture managing layers, a rain shell, and spare socks.
- Safety priorities: Navigation, drinking water, food, first aid, weather protection, and an emergency plan.
- Overall experience: Refreshing, scenic, and rewarding when conditions are suitable and risks are managed.
These recommendations are a general starting point, not a substitute for destination-specific advice. A maintained viewing trail requires different preparation from a remote mountain route.
Choose the Right Hiking Footwear

Your footwear deserves more attention than almost any other purchase. Waterfall trails frequently combine wet soil, loose gravel, exposed roots, and polished rocks. Shoes that perform well on a dry city pavement may become uncomfortable or unreliable in these conditions.
Hiking shoes or boots?
Hiking shoes are suitable for many short and moderate trails. They usually weigh less than boots, allow comfortable movement, and work well when the route is clearly marked and the terrain is manageable.
Hiking boots offer additional protection and may provide more ankle coverage. They can be useful on rough, rocky routes, particularly when carrying a heavier backpack. However, ankle height alone does not guarantee protection against sprains.
Look for a secure fit, a supportive sole, durable construction, and traction appropriate to the terrain. Try footwear with the socks you intend to wear. Your toes should have room to move without sliding forward excessively on descents.
Are waterproof hiking shoes necessary?
Waterproof footwear can help in cold, damp conditions, but it is not automatically the best choice for every waterfall hike.
Waterproof membranes may reduce breathability and can leave shoes slow to dry if water enters over the top. On hot trails, breathable footwear may be more comfortable. On cold routes, waterproof construction can help keep feet warmer when used appropriately.
No ordinary hiking shoe makes deep stream crossings safe. Never enter moving water simply because your footwear is waterproof.
What about sandals?
Open sandals, fashion trainers, and flip flops are generally poor choices for rough waterfall trails. They expose your toes and may provide inadequate protection on uneven ground.
Water-specific footwear is appropriate for certain designated activities, but it should not replace proper hiking shoes on a demanding approach.
Practical tip: Test your footwear on a shorter walk before using it on an unfamiliar trail. New shoes that rub against your heels can turn a beautiful outing into an uncomfortable retreat.
Pack Comfortable, Weather Appropriate Clothing
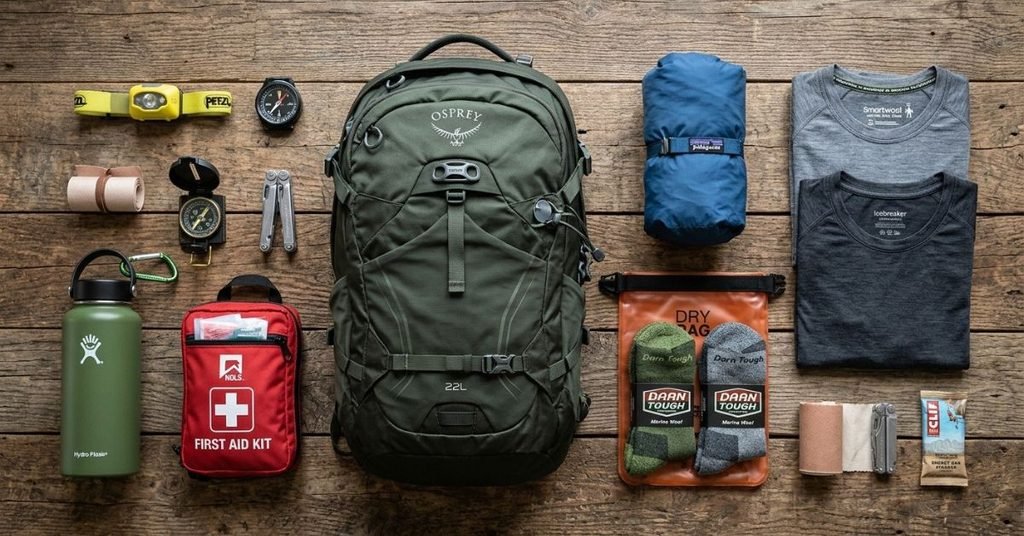
Waterfall environments can feel cooler than nearby towns because of shade, wind, evaporation, and spray. Mountain weather can also change quickly, even when the morning begins in bright sunshine.
A sensible clothing system allows you to adjust without carrying an unnecessarily heavy bag.
Base layers
Choose a moisture managing shirt made from synthetic fabric or merino wool. These materials generally handle perspiration better than ordinary cotton.
Cotton absorbs moisture and can remain damp for a long time. In cool conditions, wet clothing can increase discomfort and contribute to dangerous heat loss.
Mid layers
Carry a lightweight fleece or another insulating layer when temperatures, elevation, or exposure justify it. A warm layer is particularly valuable when the trail passes through shaded mountain valleys or the hike may extend into the evening.
Do not assume that a tropical destination eliminates the need for additional clothing. Heavy rain, wind, and long periods of inactivity can still make hikers cold.
Waterproof outerwear
A packable rain jacket protects against showers, wind, and some waterfall spray. For prolonged exposure to rain, waterproof trousers may also be useful.
Choose clothing that allows comfortable movement and suits the expected weather. Check seams, zippers, and closures before leaving home.
A rain jacket is not a substitute for shelter during a severe storm. If dangerous weather approaches, follow local guidance and move to an appropriate safe location.
Spare socks and a dry layer
Carry an extra pair of hiking socks in a waterproof bag. For longer or colder trips, consider a dry base layer as well.
These items weigh little compared with the comfort they can provide after unexpected rain or a wet section of trail.
Select a Backpack That Fits Your Route
The best hiking backpack is not necessarily the largest or most expensive. It should carry your equipment comfortably, distribute weight appropriately, and protect essential items from the weather.
For a short, maintained trail, a compact daypack may be enough. A longer hike may require additional space for clothing, food, water, navigation tools, and emergency supplies.
Look for comfortable shoulder straps, a secure closure, useful compartments, and a design that does not swing around as you walk. A waist strap can improve stability when carrying a heavier load.
Protect your equipment from water
Waterfall spray, sudden rain, and damp vegetation can soak the outside of a backpack. Even bags advertised as water resistant may allow moisture through seams or zippers.
Use a waterproof pack liner or separate dry bags for items that must remain dry. Protect your phone, identification, medication, spare clothing, and electronic equipment individually.
A rain cover can help, although it may not protect the entire bag during prolonged exposure or accidental immersion.
Keep frequently used items accessible. Your rain jacket, snacks, and map should not require unpacking everything beside a narrow trail.
Avoid attaching numerous loose objects outside the backpack. Dangling equipment can catch on branches, shift your balance, or become lost.
Carry Enough Water and Reliable Food
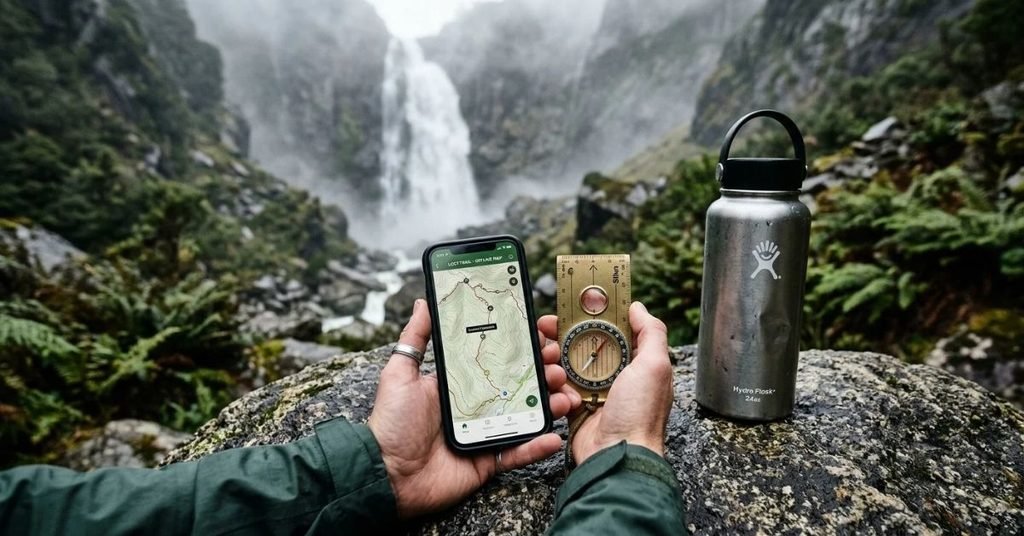
Hiking to a waterfall involves physical effort, even when the destination looks close on a map. Climbs, humid conditions, high temperatures, and a heavy backpack can increase your fluid needs.
Carry enough drinking water for the planned route, expected conditions, and a reasonable delay. There is no single quantity that suits every hiker: distance, exertion, heat, individual needs, and access to safe refill points all matter.
A reusable bottle is simple and easy to clean. A hydration reservoir can make drinking convenient while walking, although its hose and fittings need regular cleaning.
Should you drink from streams?
Clear mountain water is not necessarily safe. Microorganisms may be present even when water looks clean and has no noticeable smell.
Carry sufficient water or use an appropriate treatment method when a safe refill cannot be guaranteed. Filters, purification tablets, and other treatment systems have different limitations, so learn how your chosen method works.
Do not assume that water flowing from a waterfall is automatically drinkable.
Bring useful trail snacks
Choose foods that travel well and provide energy. Nuts, dried fruit, crackers, energy bars, and sandwiches are convenient options.
For longer hikes, bring extra food in case delays extend your trip. Keep packaging secured and carry all rubbish back out.
If you have allergies, dietary requirements, or medication that must be taken with food, plan around those needs before departure.
Prepare a First Aid Kit for Common Trail Problems
A small first aid kit can help you deal with minor injuries before they become more difficult to manage. Its contents should reflect the length of the hike, the group’s needs, and the availability of emergency assistance.
Useful items include adhesive bandages, sterile dressings, medical tape, blister treatment, antiseptic supplies appropriate for wound care, and disposable gloves.
Include any personal medication you may need. If someone in your group has a known severe allergy, ensure their prescribed emergency medication is accessible and that companions understand how to help.
A first aid kit is only useful when you know how to use its contents. Consider learning basic first aid and checking your supplies regularly.
Prevent blisters before they develop
Wear familiar footwear and suitable socks. If a hot spot develops, stop somewhere safe and address the friction before it becomes a painful blister.
A small piece of blister tape or an appropriate dressing may prevent a minor problem from affecting the rest of the hike.
Do not wait until the descent to deal with rubbing heels or uncomfortable toes. Descending on steep terrain can intensify friction.
Remember that first aid supplies cannot make an unsafe trail safe. Serious injuries, hypothermia, and other emergencies require appropriate professional assistance whenever possible.
Bring Navigation Tools and Emergency Equipment
A phone with a mapping application is useful, but it should not be your only navigation method on a remote or unfamiliar route.
Download maps for offline use before leaving areas with reliable internet access. Check that the downloaded information covers the complete route, including the return journey.
For more demanding hikes, carry a suitable paper map and compass, and learn how to use them. A dedicated GPS device may provide additional support where appropriate.
Pack the essential safety items
Your equipment should cover several basic needs:
- Lighting: A headlamp with sufficient battery life and spare batteries or an appropriate backup.
- Sun protection: Sunscreen, sunglasses, and a hat suited to the weather.
- Emergency warmth: An extra insulating layer and a lightweight emergency shelter when conditions warrant them.
- Repair tools: A small multitool or repair supplies appropriate to the equipment.
- Communication: A charged phone and, where necessary, a satellite communicator or personal locator beacon.
- Identification: Relevant identification, emergency contact details, and any required permits.
Do not carry technical equipment without understanding its purpose. A satellite communicator, for example, requires suitable coverage or satellite access, a working battery, and familiarity with its emergency functions.
Make sure someone you trust knows where you are going and when you plan to return. Check local emergency procedures before starting.
Understand Waterfall-Specific Safety Gear
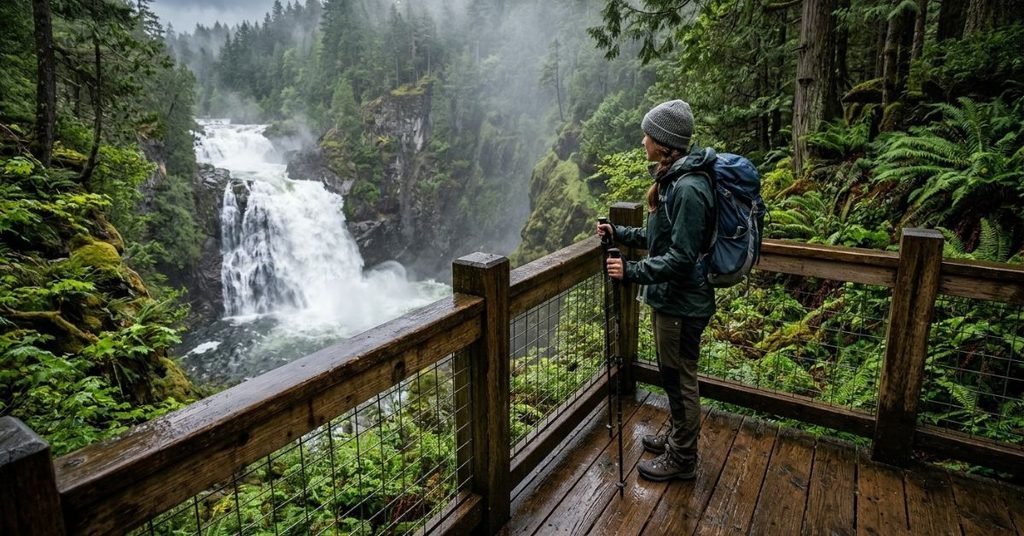
Waterfall hiking has risks that ordinary forest walking may not present. Wet rocks can be extremely slippery, currents can be powerful, and the terrain near a drop may offer little room for recovery.
The most important safety equipment is sometimes the equipment you choose not to use. A rope, climbing harness, or improvised grip does not make an unprotected waterfall edge safe for an inexperienced hiker.
Are trekking poles useful?
Trekking poles can improve stability on suitable muddy paths, gradual slopes, and uneven ground. Some descents may require less effort with them.
However, poles are not guaranteed to grip wet rock. Their tips can slide unexpectedly, and they can become awkward when scrambling or crossing obstacles.
Use them where the terrain permits, and put them away when they interfere with balance or require both hands for a safe movement.
Do you need a helmet?
Any ordinary waterfall trail does not require a helmet. It may be required or recommended for specific activities involving rockfall exposure, technical terrain, or organized canyoning.
Follow local requirements and qualified guides’ instructions. Do not enter a technical canyon with equipment alone and assume that possession of a helmet or harness replaces training.
What about swimming gear?
Pack a towel or swimwear only when swimming is explicitly permitted and conditions are suitable.
Never assume a waterfall pool is safe because other visitors are swimming. Hidden rocks, sudden depth changes, cold water, strong currents, and submerged obstacles can create serious hazards.
Stay behind barriers and on marked paths. Never climb above a waterfall for a photograph or enter dangerous water to reach a viewpoint.
Choose Photography Gear Without Compromising Safety
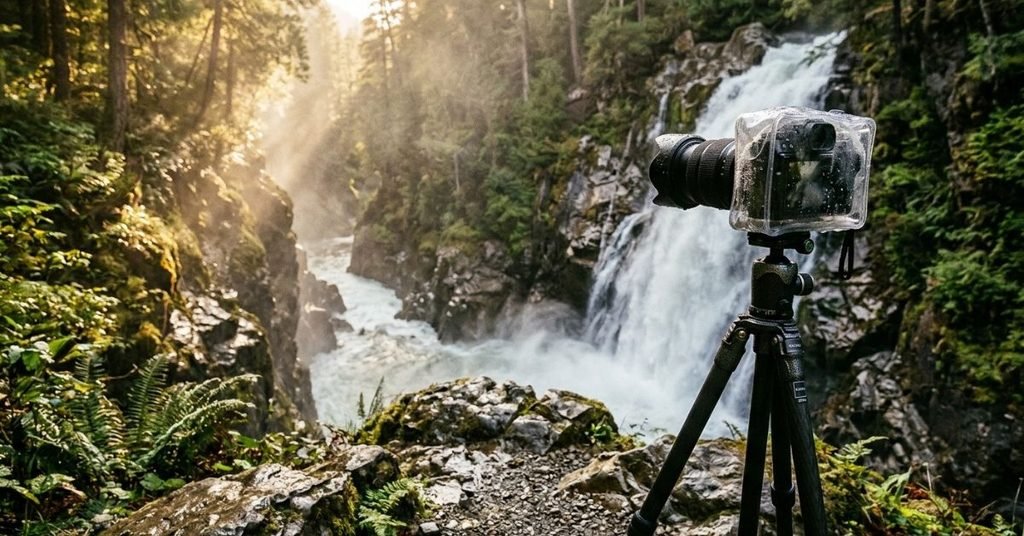
Waterfalls are rewarding photography subjects. Moving water, dark rocks, green vegetation, and changing light can produce memorable images without requiring a complicated camera setup.
A smartphone may be entirely sufficient for most hikers. A compact camera or interchangeable-lens camera can offer additional control, but equipment should suit your experience and the route.
Keep cameras and phones dry
A waterproof pouch or suitable protective case can help guard against splashes. A dry bag provides additional protection when transporting equipment through wet conditions.
Waterproof claims have limits. Check the manufacturer’s instructions, inspect seals, and avoid exposing equipment to water beyond its rated protection.
A small microfiber cloth helps remove spray from a lens. Keep spare batteries or a power bank available for longer trips, especially in cold weather.
Use a tripod carefully
A tripod can help with long exposure photography, but uneven ground near waterfalls can make setup hazardous.
Choose a stable position well away from exposed edges and rushing water. Never step onto slippery rocks simply to obtain a better composition.
Take photographs from designated viewpoints whenever possible. A slightly less dramatic image is a reasonable trade off for a safer position.
Before using a camera, stop walking and find a stable place to stand. Looking through a screen can distract you from obstacles and changes in footing.
Check Weather, Trail Conditions, and Seasonal Risks
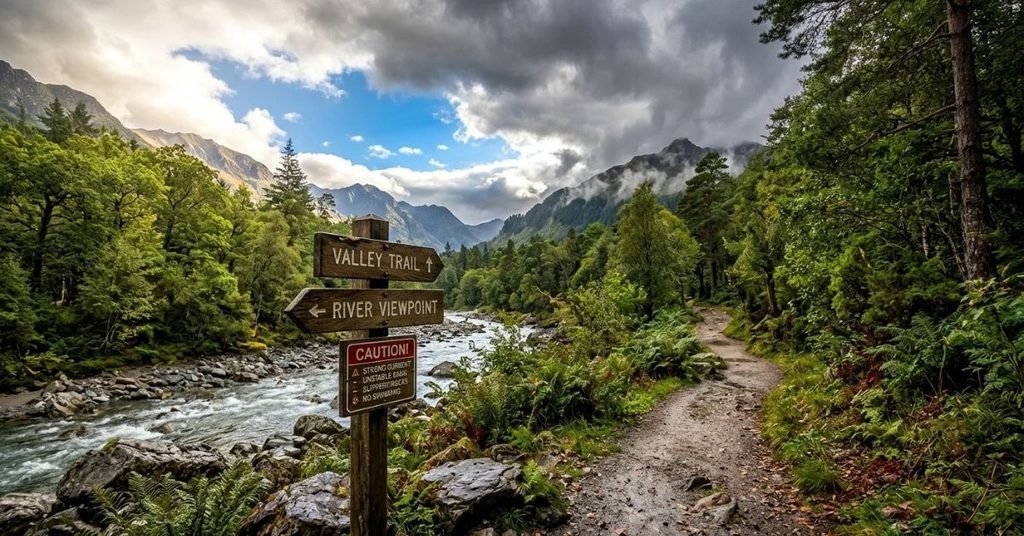
Equipment decisions begin before packing. Check the local forecast, official trail notices, access restrictions, and any warnings about flooding or landslides.
A trail that is manageable in dry weather may become dangerous after heavy rainfall. Water levels can rise rapidly, and streams that appeared harmless earlier may become impassable.
Avoid crossing streams and narrow valleys when flash flooding is possible. If water rises, becomes unusually muddy, or carries debris, move away from the channel toward safer ground without attempting a risky crossing.
Snowmelt can also increase stream flow in mountain regions. During colder seasons, ice may conceal unstable surfaces and make steep approaches particularly hazardous.
Do not rely exclusively on photographs, old travel blogs, or reports from previous visitors. Conditions change, and a route’s past accessibility does not guarantee that it is safe today.
If official information is unavailable or conditions are uncertain, choose a safer alternative.
Essential Waterfall Hiking Gear: A Practical Comparison
Different hikes require different levels of preparation. Use this comparison as a starting point, then adjust the list to the actual route.
| Equipment | Short, maintained trail | Full day waterfall hike | Remote or challenging route |
| Hiking footwear | Suitable hiking shoes | Supportive, tested footwear | Terrain appropriate footwear |
| Rain protection | Packable jacket | Jacket and suitable extra layer | Weather specific protective clothing |
| Water and food | Sufficient for outing | Additional supplies for delays | Carefully planned supplies and treatment |
| Navigation | Offline map | Offline and backup navigation | Map, compass, GPS as appropriate |
| First aid | Basic personal kit | Expanded kit suited to group needs | More comprehensive kit and relevant training |
| Lighting | Recommended | Headlamp | Reliable lighting and backup |
| Emergency shelter | Depends on exposure | Consider carrying | Appropriate to conditions and route |
| Communication | Charged phone | Phone and backup plan | Satellite communication where needed |
| Photography | Phone or compact camera | Protected camera equipment | Minimal equipment that preserves mobility |
No checklist replaces an assessment of weather, terrain, group ability, or local hazards. A short trail may still be dangerous during a storm, while a longer maintained route may be straightforward in good conditions.
Waterfall Hike: Where to Stay Before and After
Accommodation matters most when a waterfall is remote, the approach requires an early start, or poor weather could affect transportation.
For an accessible waterfall near a town, a budget guesthouse or hostel may provide a practical base. Look for reliable transport access, secure storage, and an early breakfast option.
A mid range hotel can be useful when you want a private room, a hot shower, laundry facilities, or a place to dry damp clothing. Confirm that the property actually offers these services rather than assuming they are included.
For remote routes, a locally operated lodge or authorized campsite may reduce driving time. Check seasonal opening dates, road access, and whether bookings or permits are required.
Do not select accommodation solely because it advertises a waterfall view. A property farther from the trailhead may require an expensive transfer or an early departure.
Prices vary by destination, season, currency, and availability. Since this guide covers waterfall hiking worldwide rather than a particular location, quoting a single hotel price or daily budget would be misleading.
Before booking, check recent reviews, cancellation terms, local transport, and the property’s arrangements for late arrivals. Keep valuables secure and leave enough time for your return journey.
Essential Logistics: Getting to the Trail and Back
Transport planning is part of your equipment strategy. An otherwise well-prepared hike can become stressful when the return vehicle is unavailable or the access road closes unexpectedly.
Research the trailhead using official park information, reliable maps, and recent local guidance. Confirm where parking is permitted and whether the route requires an entry ticket, reservation, guide, or access permit.
Public transport can be economical where services reach the trailhead. However, the last return departure may occur before you finish hiking.
Rental cars provide flexibility but require attention to local driving rules, road conditions, parking restrictions, and insurance. A private driver or licensed local guide may be more appropriate for remote destinations.
Check whether mobile service is available along the route. Download maps, save accommodation details, and record important contact information before losing connectivity.
International travelers should verify visa and entry requirements through official government sources. Check travel insurance for hiking exclusions, medical treatment, and evacuation coverage.
Carry local cash when necessary, but avoid keeping all payment methods in one place. Card acceptance, ATMs, local SIM availability, electrical sockets, and voltage vary between destinations.
These practical details cannot be standardized globally. Verify them for your actual destination before travelling.
Insider Packing Tips and Mistakes to Avoid
Prioritize function over appearance. Equipment should fit, work reliably, and suit the conditions. Expensive brands are not automatically safer or more comfortable.
Test everything beforehand. Wear your shoes, adjust your backpack, check your rain jacket, and learn how to operate navigation and communication devices.
Keep essentials accessible. Store your rain layer, first aid kit, snacks, and navigation tools where you can reach them without emptying the backpack.
Avoid overpacking. Unnecessary weight increases fatigue, particularly on steep descents. Remove duplicate gadgets and clothing that does not serve a realistic purpose.
Protect your feet. Suitable socks, familiar shoes, and early blister treatment can make a considerable difference.
Respect wildlife and the environment. Follow local rules, keep a respectful distance from animals, and pack out rubbish. Do not leave food scraps or disposable packaging beside the trail.
Never take unnecessary risks for photographs. Stay behind barriers, avoid unstable ledges, and do not attempt to cross swift water for a viewpoint.
Know when to turn around. A closed trail, deteriorating weather, rising water, injury, or insufficient daylight can justify abandoning the plan.
The waterfall will remain a worthwhile destination for another day. Returning safely is more important than reaching a particular viewpoint.
Final Thoughts on Essential Waterfall Hiking Gear
Hiking a waterfall does not require a backpack full of expensive gear. It requires thoughtful choices, an honest assessment of your abilities, and preparation for conditions that may differ from the forecast.
Start with reliable footwear, practical layers, sufficient water, food, navigation, and first aid. Add equipment according to the route’s length, weather, terrain, and remoteness. Protect the items that must remain dry, test your gear before departure, and understand how to use your emergency supplies.
Most importantly, remember that equipment supports good decisions; it cannot eliminate every hazard. Respect trail closures, stay away from dangerous water, and turn back when conditions become unsafe.
The best waterfall adventure is not necessarily the one that reaches the closest possible viewpoint. It is the one that lets you enjoy the sound of falling water, the freshness of the forest, and the beauty of the landscape while returning safely with memories worth sharing.
Frequently Asked Questions
What is the most important gear for waterfall hiking?
Properly fitting footwear, sufficient water, weather appropriate clothing, navigation tools, first aid supplies, and a charged communication device form a strong foundation. The exact list depends on route difficulty, duration, and conditions.
Are waterproof hiking shoes best for waterfalls?
Not always.In cold and wet weather, they can help, but if flooded from above, they may retain water. Choose footwear according to temperature, terrain, expected exposure, and fit.
Can beginners hike to waterfalls?
Many waterfalls have short, maintained access trails suitable for beginners. Check the official difficulty rating, distance, elevation, and current conditions before choosing one. Avoid routes that exceed your experience.
Should I bring trekking poles?
They can help on suitable uneven or muddy paths. They are less useful where poles cannot grip reliably or where both hands are needed. Never depend on them to stabilize yourself on dangerously slippery rock.
How much water should I carry?
There is no universal amount. Consider distance, exertion, heat, individual needs, and reliable refill opportunities. Carry enough for the planned hike and a reasonable delay.
Do I need a first aid kit on a short hike?
A small kit is sensible even on short outings. Minor cuts, blisters, and unexpected delays can happen close to a trailhead as easily as in remote areas.
Is a phone enough for navigation?
Not always. Download maps before departure and carry an appropriate backup for unfamiliar or remote terrain. GPS and mobile applications may not work as expected when batteries fail or connectivity disappears.
What should I avoid near a waterfall?
Avoid climbing wet rocks, crossing dangerous currents, standing near unprotected edges, and entering water with unknown depth or conditions. Follow barriers, posted warnings, and local authority instructions.
.
